Build a sitemap in Web Scraper’s new side panel
November 15, 2026
Web Scraper extension, data extraction, Advanced Sitemap Builder, Side panel
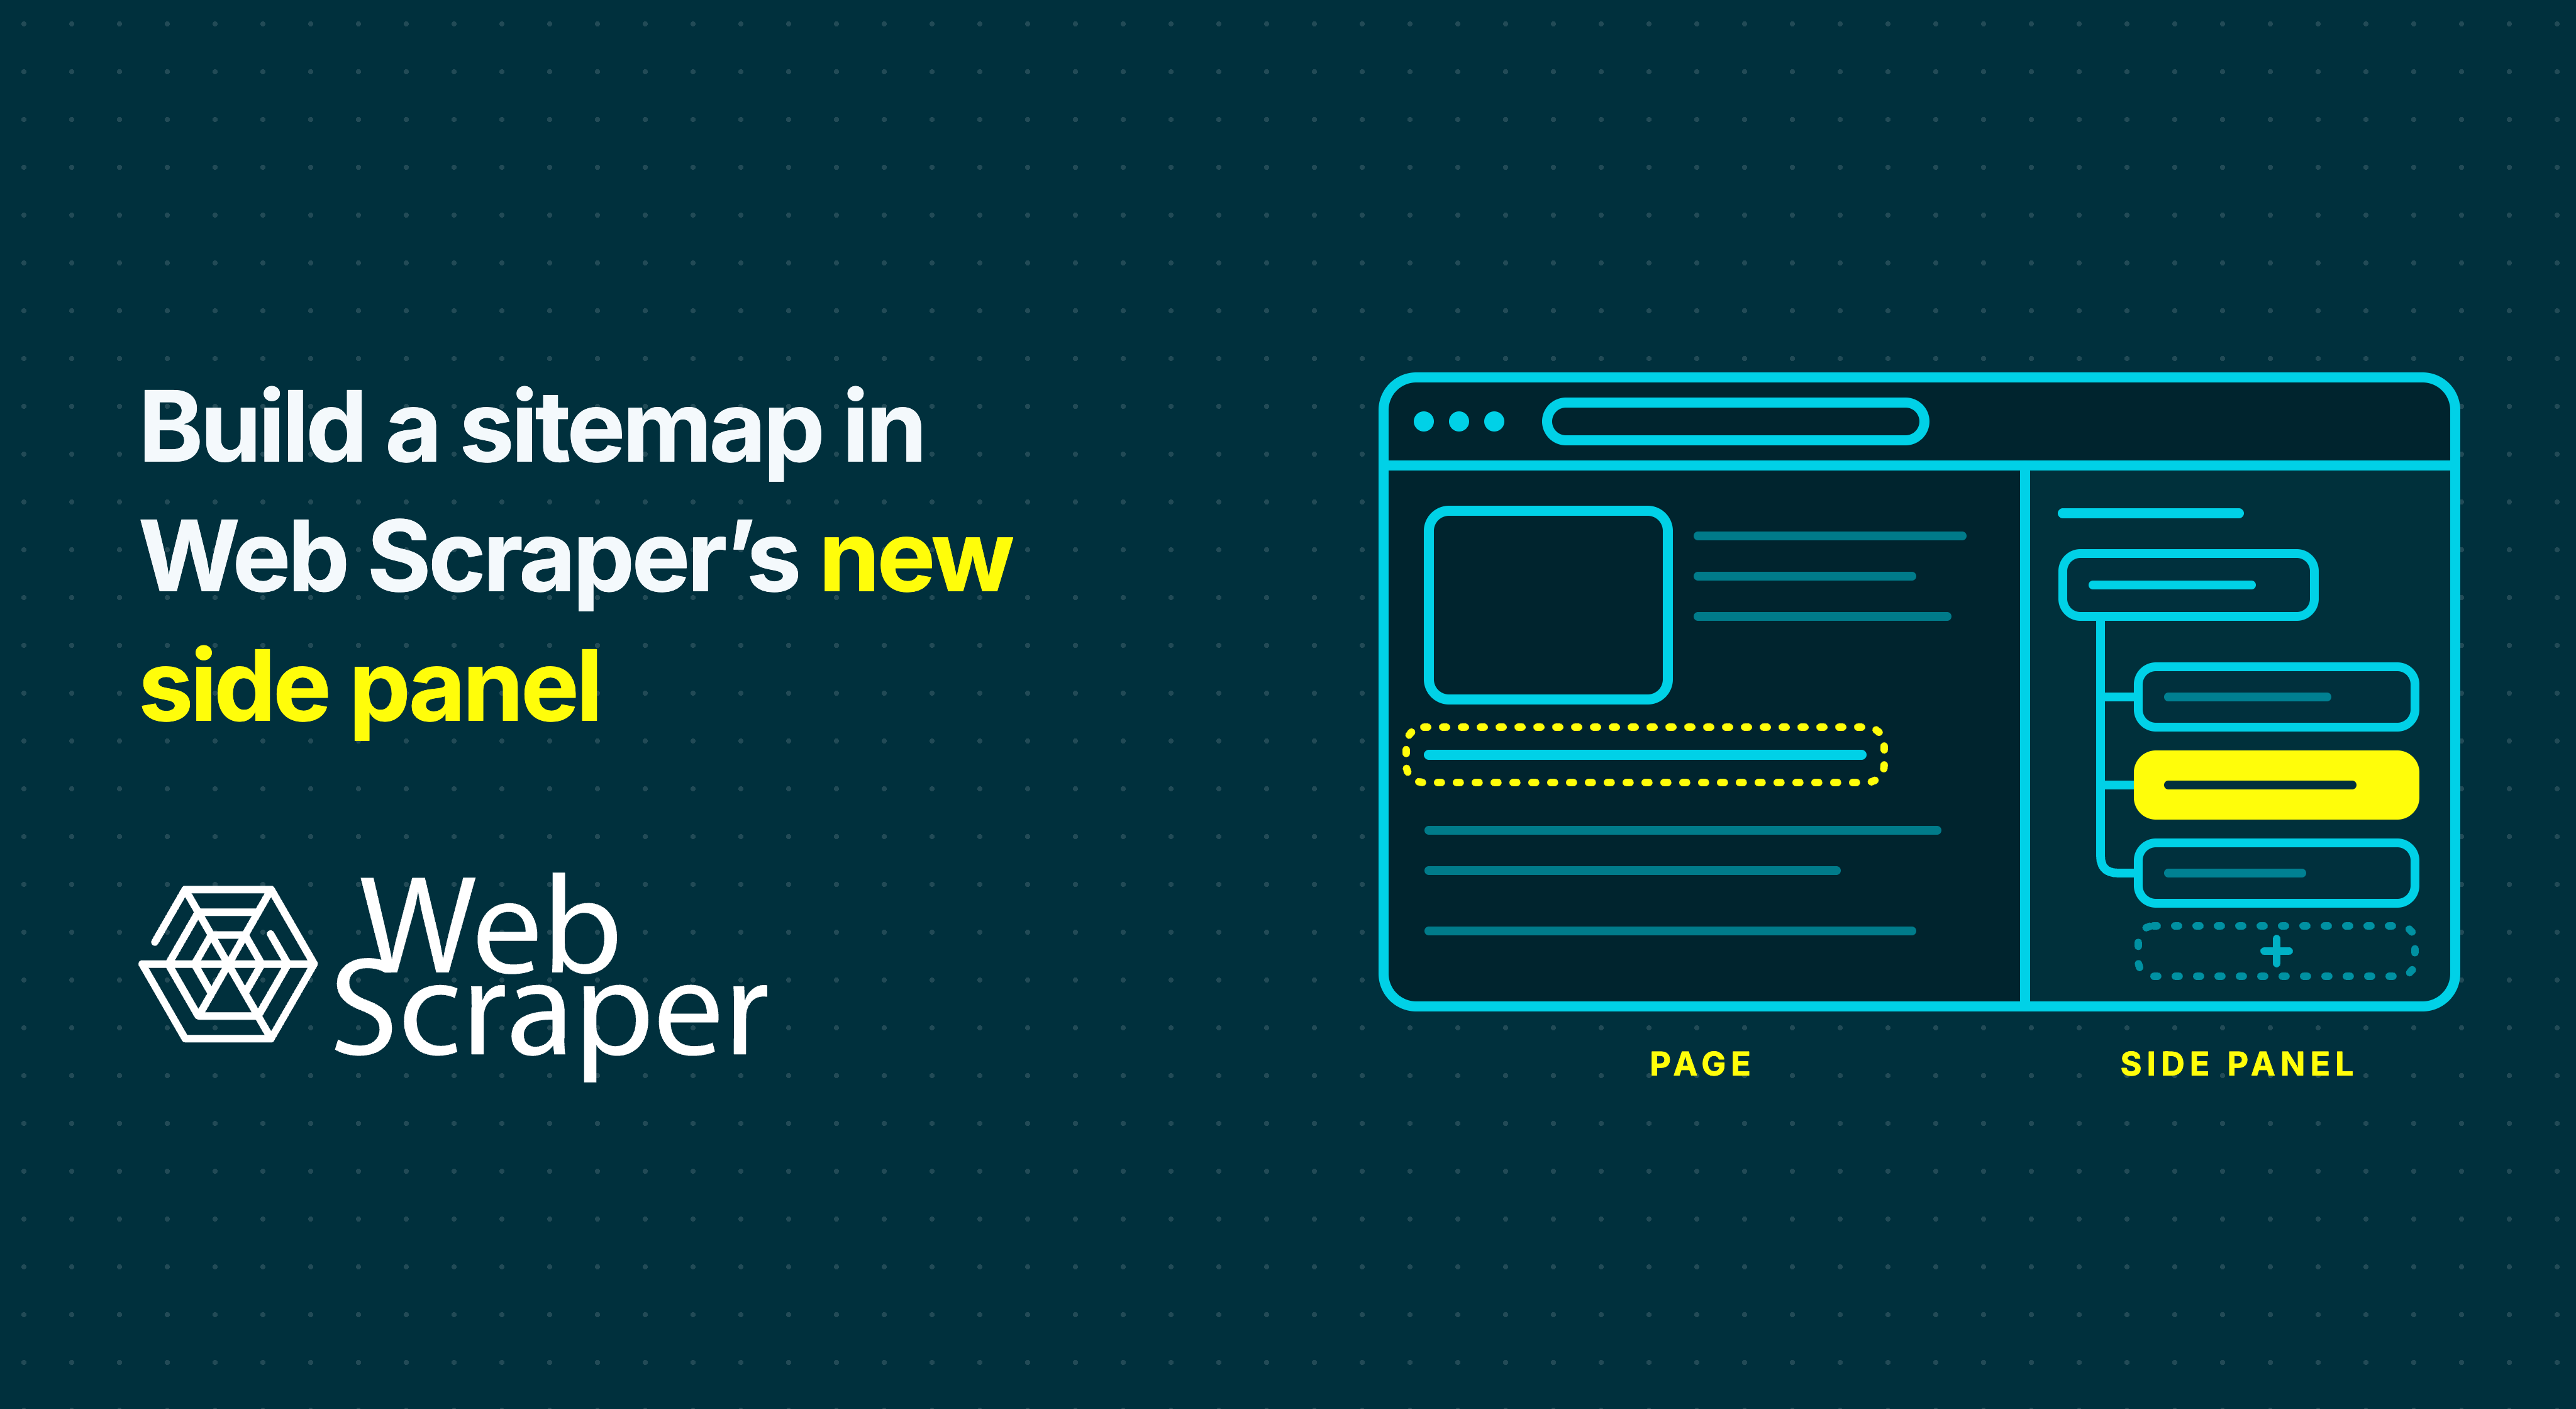
Web Scraper’s Advanced Sitemap Builder is now available in the browser side panel, alongside the Sitemap Wizard. You can configure navigation, add fields and check selectors with the source website beside the builder, without opening Developer Tools.
This walkthrough follows the new demo to build a reusable sitemap that moves through categories and subcategories, handles pagination and collects data from individual item pages.
Follow along with the demo
Watch the Advanced Sitemap Builder demo and open the pagination test site. The listings and prices on this practice site are fictional.
Aim for one record per listing, containing its name, displayed price, item URL and description. For the first run, restrict the category and subcategory matches to a small section. You can broaden them after checking the output.
1. Create a sitemap in the side panel
On the test site’s starting page, open the Web Scraper extension and choose Advanced sitemap creation in the side panel. Create a sitemap, give it a descriptive name and use that page as its start URL.
A sitemap stores where the scraper begins, which links it follows and which fields it extracts. The Sitemap Wizard offers a guided setup; Advanced creation gives you direct control over the selectors and their relationships.
2. Build the category and subcategory navigation
Create a Link selector under _root for the category links. Name it category and select the links you intend to follow. Enable Multiple whenever the selector should follow several links.
Open the category selector, then create another Link selector for the subcategories. Name it subcategory and enable Multiple here too if you want to follow several subcategories.
A Link selector provides the next page context; its children define what to do there. Putting the subcategory selector inside category tells the scraper to find subcategories on the category pages.
In the demo, selecting two subcategory links helps the selection tool identify the remaining matches. Check that the highlights cover the intended links without including unrelated navigation.
The extension opens a matching URL as you navigate through the sitemap. Use it to check each selector against the page where it should run.
3. Generate the listing-page selectors
Open the subcategory selector and choose AI listing page. In the demo, this generates three parts:
- Pagination, which discovers further listing pages.
- An item wrapper, which identifies each repeated listing.
- Child fields, which extract values from that item.
Check that the wrapper matches the intended listings and that its fields stay beneath it. A price selector inside one item wrapper searches within that item, keeping its price associated with its name and link.
If no pagination selector appears, add a Pagination selector manually and make the item wrapper its child. This lets item extraction run on the listing pages discovered through pagination.
The redesigned tree view groups selectors that execute on the same page. Use it to inspect the wrapper and its fields together. Hover over a selector to preview the matching page elements, then use Data Preview to check the values it extracts.
4. Rename fields and add anything missing
Click a selector name to edit its ID directly from the list. Replace generic names with useful column names, such as item_name and listing_price.
Check the extracted value before settling on the name. A field called listing_price is still wrong if it selects the crossed-out price.
You can add selectors throughout the build. Use quick selector creation from the list when a required field is missing, then check its parent, matching element and extracted value.
5. Open item pages for more detail
Inside the item wrapper, add a Link selector for the item names that open individual pages. Open this Link selector and choose AI single item page.
The demo shows the generator examining several item pages to identify shared fields. Review the generated selectors, keep the fields you need and add any that were missed. What is available depends on the source website.
Keep detail-page fields beneath the item Link selector. A description selector beside the link still searches within the listing item; beneath the link, it searches the destination page. The listing and detail-page guide explains this structure.
If you collect prices from both pages, use distinct names such as listing_price and detail_price.
The generator creates selectors that are saved in your sitemap. Runs reuse those selectors, which you can inspect and edit when the website changes.
6. Check later pages and run the sitemap
Open a second listing page and preview the Pagination selector again. Confirm that it matches the intended navigation. A broad selector can match Next on page one and also match Previous once that control appears.
Preview several listings and detail pages. Check that each name, price, link and description belongs to the same item, including cases with missing optional information or a different layout.
Once the previews are correct, choose Start scraping. Keep the local scraping window open until the job finishes. The local scraping guide covers request intervals and page-load delays if you need to adjust them.
Inspect the actual export from your restricted first run. Check later-page coverage, missing values and unexpected duplicates before broadening the category matches. The sitemap validation guide covers these checks in more detail.
Reuse the sitemap for larger collections
The same parent and child structure supports additional navigation levels and larger catalogues.
For scheduled collection, unattended runs or workloads spanning millions of pages, use the tested sitemap in Web Scraper Cloud. Validate its Cloud configuration before scheduling recurring jobs.
Try the walkthrough with the Web Scraper extension. For the other changes in the redesign, see the 1.114.4 release article.