How to track promotions across online stores
September 21, 2026
e-commerce data, promotion monitoring, competitor monitoring, web scraping, data automation
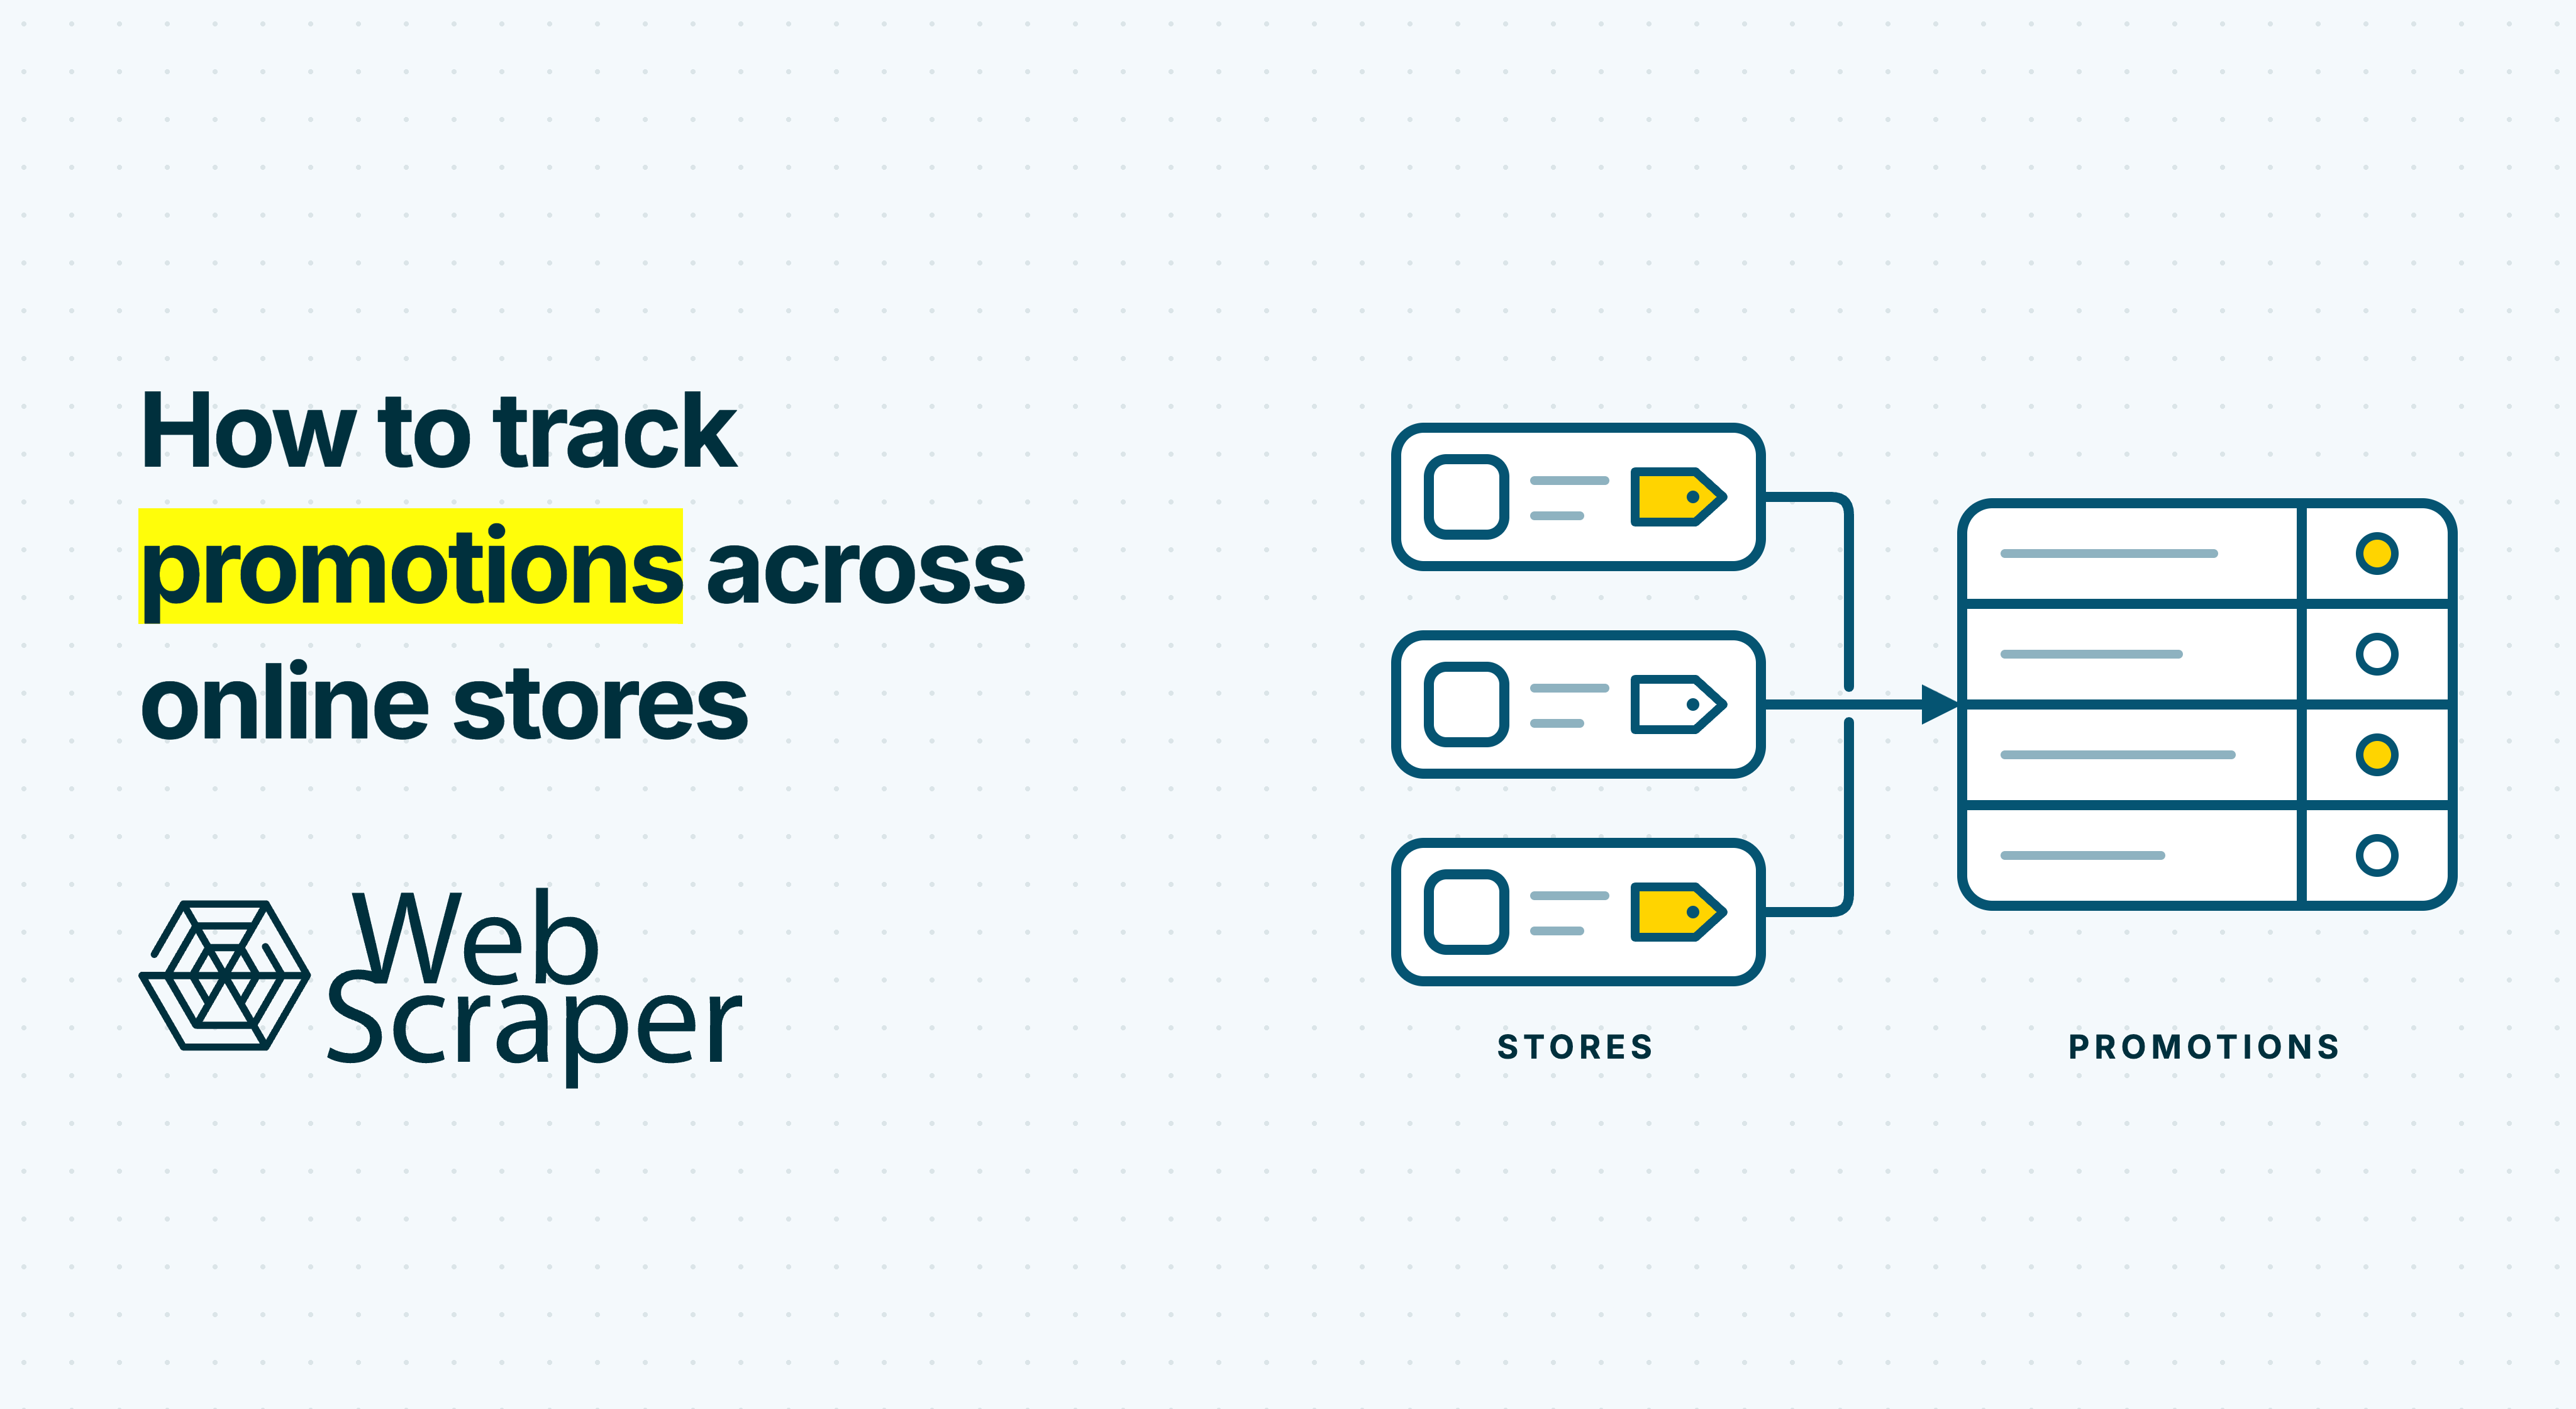
To track promotions across online stores, check the pages where stores announce sales and the product pages where an offer applies. Save the wording, prices, eligible items, conditions, market and time observed. Repeat the checks, validate each collection, then compare the results to flag newly observed, changed and apparently ended offers.
A price drop is only one kind of promotion. Coupons, multi-buy deals, member prices and free delivery each have different rules. A useful monitor tells your team what the store offered and what remains unverified, rather than reporting every change as a percentage discount.
Decide what you need to detect
A category manager may want to know when a rival starts a sale across an entire category. A brand team may need to see whether its products are included. A pricing team may need to know whether a lower price applies automatically or requires a code. Decide which question the monitor must answer before choosing pages or schedules.
Start with a small list of stores, markets, categories and important products. For a handful of pages, a shared sheet and regular manual checks may be enough: record the offer, URL, conditions and time checked. Automate when the number of stores or checks makes that routine unreliable, or when people need timely, traceable alerts.
| Page to check | What it can reveal | What it cannot prove alone |
|---|---|---|
| Homepage banner and sale landing page | Campaign headline, linked categories and stated dates | Which products or variants qualify |
| Category and sale listings | Participating products, badges and apparent campaign reach | Full terms or every variant's price |
| Product and variant pages | Current and reference prices, item-specific badges and stock | Whether a coupon or member condition works at checkout |
| Public terms and delivery pages | Exclusions, minimum spend, geography and shipping conditions | That each product still qualifies when checked |
Use these pages together. A banner may announce “up to 30% off” while a watched item has a smaller discount or no qualifying offer. A product-only watchlist can miss a new campaign; a homepage-only check cannot establish its product coverage.
Record campaigns and product offers separately
A campaign is a store's message and terms, such as “Weekend footwear sale”, with its landing page, stated dates and scope. A product offer is what a particular seller displays for one product or variant in one market at a particular time. One campaign can involve many item offers. An item can also have a separate shipping or member offer, and a reduced price need not belong to a named campaign.
Keep the store's original wording. Alongside it, capture these fields in your own dataset:
- Source and context: store, page URL and type, country, currency, delivery location and visitor or membership state.
- Campaign: headline, landing URL, linked categories, public terms URL and any stated start or end dates.
- Item: source product or variant ID, seller, category, availability, current price, displayed reference price and badge.
- Mechanic and eligibility: direct reduction, coupon, quantity or bundle rule, member requirement, minimum spend, exclusions and shipping terms.
- Observation: time checked, scraping job ID, raw offer text, page outcome and whether the claimed conditions were verified.
These are fields you design; Web Scraper does not automatically create a campaign model or interpret the offer. Use a stable source listing or variant ID where one exists. A title alone is a weak key when products have similar names or several sizes. Keep blank, unavailable, unverified and extraction-failed values distinct.
The mechanics matter when comparing stores. “Buy two, get one free” has no single effective unit price without a qualifying basket. A delivery threshold affects total cost only for a known basket and destination. A member price is not the ordinary public price. Likewise, a crossed-out reference price is a displayed comparison, not proof of what shoppers previously paid. Preserve raw amounts and terms separately from any calculation your team makes.
Google's Merchant Center promotions specification distinguishes percentage and monetary reductions, multi-buy offers, gifts and shipping promotions, with separate eligibility conditions. Its sale-price documentation treats a product's base and sale prices separately. Those are useful modelling references; they do not mean a retailer exposes those fields on its public pages.
Build and test a route through each store
Walk through a normal product, a discounted product and a sale landing page before building automation. Look for banners that rotate, categories with pagination, badges that appear only on listing cards, terms linked from a banner, and sizes or colours whose prices differ. Map how a campaign page leads to the item pages you need to verify.
Build source-specific sitemaps with the Web Scraper browser extension. A light discovery sitemap can collect homepage banners and sale pages; another can follow category pages to watched products and variants. Keep price, badge and identifier extraction within the same product record so neighbouring listings are not accidentally paired. Preview and validate the sitemap on ordinary, promotional and unavailable items, different page layouts and later pagination pages. Run a small test scrape before scheduling a full collection.
Choose the Cloud driver based on what the tested sitemap needs. Fast reads returned HTML; FullJS renders JavaScript and supports interaction-dependent workflows, such as required clicks or scrolling. Test under the driver you will actually schedule. A completed job can still return a consent screen, an unexpected regional page or records missing the promotional fields.
Keep market and visitor state fixed for comparable checks. Country, language, currency, postcode, selected store and session state can change the offer displayed. Check final URLs for redirects. If an offer appears only behind a login, in a personal email or at a checkout you cannot appropriately access and verify, mark its public coverage as unknown. Review source access rules, terms and applicable law for your intended collection.
Turn observations into trustworthy alerts
Compare each accepted collection with the previous accepted collection for the same store, market and visitor state. Do not let the most recent completed job become the baseline merely because it finished. First list the discovery pages and watched products you expected to reach, then check which pages actually loaded and which key fields were populated.
| Event | Evidence needed before reporting it |
|---|---|
| First observed | A new campaign or item offer appears on a successfully checked page. Report when you saw it, not when it launched. |
| Mechanic changed | The same campaign or offer has different terms, such as 15% becoming 20%, in comparable page and visitor states. |
| Scope changed | Items or categories appear or disappear with sufficient coverage to support that change. |
| Apparently ended | The offer is absent or replaced on a valid, comparable check. Confirm important endings with another observation or source page. |
| Unknown | The page failed, the market changed, a selector broke or a required field is missing. Suppress change and ending alerts. |
Match campaign sightings by store, market and evidence such as a landing page and stated terms. If a retailer reuses /sale for several seasonal events, give each confirmed episode its own identity; the URL alone cannot prove continuity. Link a product offer to a campaign when a path from the sale page, explicit label or source identifier supports it. Otherwise leave the link unconfirmed.
Store first_seen_at and last_seen_at as observation times, separate from the store's stated dates. If a banner appears at 09:00 after a valid 06:00 check found nothing, it appeared sometime between those checks unless the retailer published more precise timing. If a stated expiry passes, check the page again: a published deadline is not an observed removal.
For example, suppose a store announces an illustrative “Weekend coffee machine sale: up to 20% off”. Its landing page lists twelve watched machines, but product checks confirm a 15% public reduction on eight and a member-only offer on two; the remaining two have no verified discount. Report the campaign and those separate item observations. If the next discovery job fails, keep the campaign state open with a coverage gap. After a later valid check shows the banner gone, report an apparent ending with the observation times, not an exact expiry.
A useful alert might read:
First observed: Store A, UK storefront, weekend coffee machine sale at 09:00 UTC. Eight watched items show a 15% public reduction; two display member-only terms. Two items remain unverified. Source pages and the accepted snapshot are attached.
That tells a category or pricing manager what changed and what still needs review. It also prevents one “up to 20%” headline from being assigned to every listed item.
Set a cadence and validate each run
Choose check frequency from the shortest promotion you need to catch and how quickly your team can act. A daily check can miss an offer that starts and ends between runs. A lighter banner or sale-page discovery job can run more often than a deeper product check, provided both are frequent enough for the decision. Judge delay from actual observation and job completion times, including gaps and downstream processing.
Web Scraper Cloud's Scheduler runs tested sitemaps on daily, interval or custom schedules. If a previous job for the same sitemap is still running, the next scheduled run waits, so a configured interval is not a promise of evenly spaced observations. Test expected runtime and page coverage before relying on the schedule for short promotions.
Use Data quality control to flag low record counts, failed or empty pages and missing fields. Then apply your own checks for expected discovery pages, market, variant identity, plausible terms and supported campaign links. A finished scrape, or even a plausible row count, does not by itself verify an offer. Suppress apparent endings when the relevant page was not successfully checked.
Cloud can export completed job data to a supported destination. Its webhook can tell your system a job has reached a final status; the webhook contains job metadata, so your system retrieves the rows through the API. Your downstream workflow accepts snapshots, resolves campaigns and items, preserves history and sends commercial alerts. Web Scraper supplies the repeatable extraction and delivery layer.
After several reliable runs, you can examine which stores repeat short campaigns, which product groups are usually included and how the terms change. Compare only equivalent markets, products, sellers and visitor states. For deeper guidance on matching products and retaining price observations, see the competitor price tracking dataset and price history guides.
Pilot one category across a few public stores. Check that a campaign announcement leads to supported item evidence, a failed job does not close it and the alert arrives while someone can use it. Then extend the same process through Web Scraper's e-commerce extraction workflow.